Mixed Media New School Year Planner Tutorial July 19 2017, 0 Comments
Hello! My name is Katrina and I am a member of Tangie's Creative Crew.
Every month I create a Mixed Media project to share with you. This month I have created a back to school planner.
I know, the children haven't even finished this school year yet! I don't know if it is the same in the USA as it is here in the U.K. but the shops are already full of new school uniforms, school bags and stationary. So I thought I would join them and get super organized for the next school year.
Of course it doesn't have to be used to organize school life, it is a planner that can be made to fit into everyone's life because I have tried to make it as flexible as I can.

I have gone for a planner cover with a deep spine so you can add as many parts as you need.
I will show you how I made a planner for a teenager taking the big step up to senior school. This happens in the UK at 11 years of age. It is quite a step as they go from having one teacher in one classroom in a small local school, to managing their own timetable in a very large school. I thought it would be nice if they had a bright and fun planner to help them.
This is quite a tutorial so grab yourself a cuppa, get comfortable and let's begin.
To start with you will need to do some work on your computer, working in your Photo Editing software. The size of all the finished books will be A5, so we will need to resize papers to A5 ( half of A4). I used Tangie's "Quickity Split Refill {Delightful Collection}" and "Quickity Split Refill {Joyous Noel Collection}" for the background papers.
"Quickity Split Refill {Delightful Collection}"

"Quickity Split Refill {Joyous Noel Collection}"

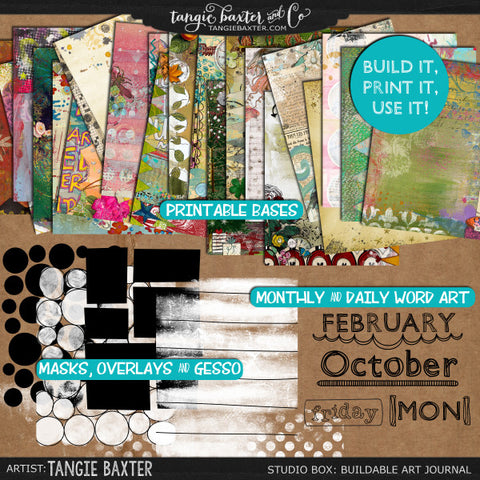
I also used the "Studio Box: Buildable, Printable Art Journal" kit. This kit is wonderful as it has templates you can lay over your backing papers to make them into diary style pages. The kit also has months of the year and days of the week. I made up my diary pages by making an overlay which I could then just copy and paste on top of my chosen backing paper. It makes it very quick and easy to do.
"Studio Box: Buildable, Printable Art Journal"
You will need to print out -
- A5 diary sheets, I printed enough for the first term.
- A5 papers for the front and back of the diary and (4) A5 papers to decorate the timetable folder.
- Full A4 background papers x 6 to cover the planner cover and pockets.
Once they are all ready, print them out.

I started building the planner by cutting some stiff white card to the measurement in the photo below

You will notice there are 2 parallel lines about 1/2 inch in from the sides of the spine. You need to score and fold these lines and then glue your front and back panels onto these thin pieces so it forms the spine as shown below.

Now we need to cut the pocket pieces and another front and back piece to use to stabilize the cover. Cut the pieces as in the photo below. I did cut an extra pocket for the back cover which is not shown in the photo.

Before I covered the planner cover I added a small piece of elastic to hold a pen. I used extra strong double sided tape to hold the elastic in place, then used wet glue to stick the stabilizing pieces in place. You might need to use a couple of cloths pegs to hold the cardstock together around the elastic until it is dry.

Now we can cover the planner cover with the A4 backing papers. I covered the covers and pocket pieces then glued them in place. Then I used my crayons to decorate the papers.

Now that the cover is finished we can start on the books. The first is a diary planner. I folded 12 sheets of A4 paper in half and then divided them into 2 groups also known a folios. Then, I took a sheet of A4 card and folded it in half to form the cover. I used a long arm stapler to staple the 2 folios into the cover as close to the spine as possible. If you don't have a long arm stapler you can stitch the folios into your book.

Trim your edges to make it neat and tidy.
Now get another cuppa and get ready to cut your diary pages apart and stick them into your planner diary.
When I was planning my pages back on the computer I made some pages for Halloween and Christmas.


As you can see I repeated the backing paper for my 2 week spread. You may have also noticed there are no dates or months. Well I have a plan for the months that I will show you in a mo but I wanted the planner diary to be flexible so I thought you can just write in the date when you want to use it.
I also printed out a planner diary front cover and used a backing paper for the back too.

I wanted a place to put the timetable. Now I have no idea how they get their timetables these days, so I just made a pretty cover for them to keep a printed copy in.
Again I printed off a cover.


I also covered the inside of the cover with beautiful papers from the kit.
Now we can put the planner together. I used elastic cord, you can get it in all kinds of colours to match your planner. I cut a length of the elastic cord and wrapped it around the spine and tied the ends together. You need to pull it tightish but not too tight. I then threaded the planner cover through the elastic cord on the spine of the book and sat it on the planner cover spine. There is room enough for a few books made this way so you can add however many you want.

You remember I said I had a plan for adding the months to the planner diary. Well here is what I have done. I am lucky enough to have a Silhouette CAMEO® electronic cutting machine. So I cut some tabs and as the machine also draws and writes any font you have on your computer I used a font from Tangie's "FONTASTIC! 65 FONTS GRAB BAG!" called AJFgoldenafternoon to write the month on each tab.
"FONTASTIC! 65 FONTS GRAB BAG!"

I thought you could add these to the edges of the planner diary pages as you need them.

I also made a envelope to keep them in with a leftover sheet of paper.
Well, that's it. All that is left to do is to show you my finished planner.

Front cover: I cut the word Planner on my Silhouette CAMEO® using Tangie's font tweedledumb, also from the "FONTASTIC! 65 FONTS GRAB BAG!".

The tags are there to show you the pockets but thinking about it, it would be nice to write some quotes on them perhaps.


Then the back back cover with another pocket for the envelope full of months and bright pen to finish it off.
Wow! That was a long tutorial! Thank you for staying with me to the end. I really hope you like my planner idea and will have a go at making one yourself. You really don't have to make the same books as I did just make it your own. Perhaps a sketchbook and quote collection or your bespoke cookery book with a book for sweet and book for savoury. There are so many ideas.
If you have any questions about the planner I would be only too happy to answer them.
I will be back again next month with another Mixed Media project to show you. Until then take care.
Love Katrina
[Posted by: Katrina]

