Art Journal Emporium - Cultivate Garden Journal June 22 2016, 0 Comments
Hello, my name is Katrina and I am part of the Art Journal Emporium crew. Each month I create a cut and paste project using the wonderful kits and collage sheets Tangie Baxter creates for us all.
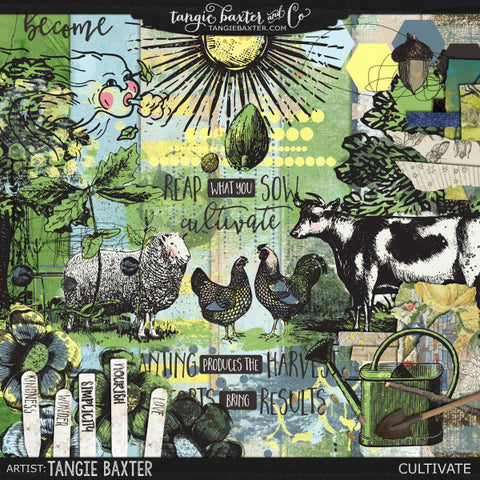
I live here in the south west of England and am lucky to have a lovely garden created and tended by my husband. He is a wonderful gardener who loves nothing better than growing his plants from seeds and cuttings. So when I saw this month's grab bag kits from TB& CO I thought it would make a nice little garden journal to keep all those notes and ideas gardeners have from season to season.
So here it is. I made my own book and bound it using my Zutter Bind-It-All machine. The Zutter Bind-It-All machine is a small book binding machine that cuts the holes in your pages and covers and closes the metal binding rings to make a professional looking bound book. I love my machine and use it a lot to make all sorts of books but if you don't have a machine like mine there are all sorts of different ways you could bind your book. Book rings are a simple way to bind your little journal or using ribbon to tie the pages together would look good too. If you don't want to make your book why not just use a bought book and cover the pages instead.

To begin with I printed out some of the papers and images I liked from the kit onto coated paper. If you are disappointed with the way your printouts look then change your paper before you change your printer. It’s the quality of the paper you use in your printer rather than the printer that will affect the way they look, so using a coated paper that the ink doesn't sink into will make your printed images look bright and crisp and also uses less ink too.
I cut out my papers to use for the pages of the book, covers and dividers. I also found a couple of hook and loop tape dots I had recycled from some packaging.

I used the background papers to decorate both sides of my dividers, then used complementary colour ink to ink around the paper edges and dividers.

There are so many lovely images in this kit, so I cut some of them out to collage onto the dividers

I then turned to the covers. I covered them inside and out with the background papers and then added a couple of the kits images.

All there was left to do then was divide the pages up between the dividers and bind my book.

I have left the divider tabs blank so hubby can use the journal as he wishes. I also added a few collage pieces on the inside and on the reverse of the dividers

I like to have some form of closure to my books, so this time I have used some seam binding to match the look of the papers and used the recycled hook and loop dot, one stuck on the book cover and one on the seam binding to close it. I had a leaf button that I thought went quite well on the front of the seam binding. I also added some recycled raffia to give it a rustic look and to finish it off.

Well there we are, this month project using the AJE and Grab Bag goodies for a journal book. These kits are so versatile and can be used for more than art journaling pages. You can make all sorts of thing with these lovely images and papers. It's one of the things I love the most about digital kits, you can make them work for all sorts of projects.
I hope you have enjoyed my project this month and will join me this time next month for another cut and paste project.

Don’t forget Monthly Grab Bags are only available for a limited time once a month and priced on a sliding scale. Act fast for the best deal. For more information visit TB&CO Grab Bags.

Love Katrina
[Posted by Katrina Rollings]
