Art Journal Emporium - Christmas Countdown Advent Calendar November 24 2017, 0 Comments
Hello, I’m Katrina Rollings, a member of Tangie's Creative Crew.
Each month I bring you a Mixed Media project using Tangie Baxter products.
Can you believe it is almost time to bring out the advent calendars and count down to the big day, Christmas Day!
I love advent calendars, you can never have too many. So I have a countdown style advent calendar to show you today.
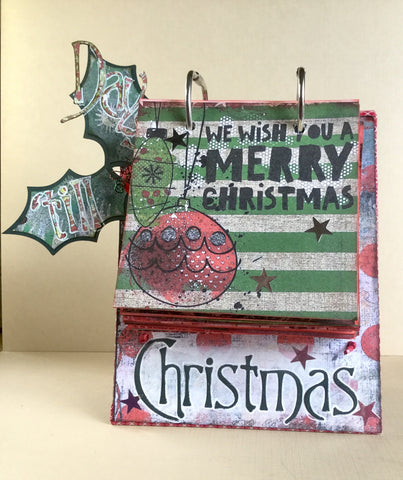
It very easy to make. I used things you would find around the house plus many of Tangie Baxter’s Christmas kits.
To start with we need to make the stand for the countdown pages.
I used some cardboard box card for the sides and a strip of normal card to join them together.
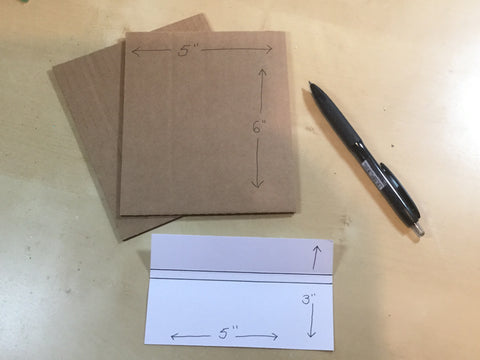
You will need to cut your cardboard pieces to the size of the pieces in the photo.
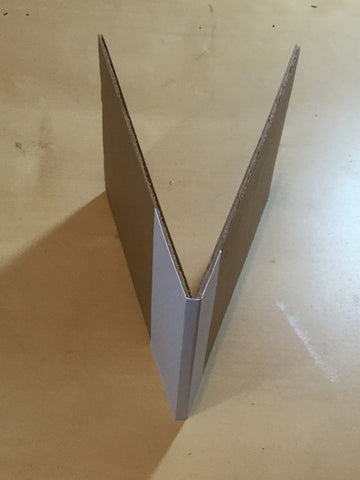
Now we need to join the pieces together to make the stand. The size of the spine on your joining piece will depend on the thickness of the card used for the side pieces.
Glue one half of the joining piece to the top of one of your side pieces. Then with the second side piece held on top of the first fold your joining card piece over them to give you the thickness of your spine.
Make the folds neat and then glue the second side in place to look like this
We now need to think about the countdown pages themselves. Mine are 4” square. They all need to be punched in exactly the same place so they stack nicely.
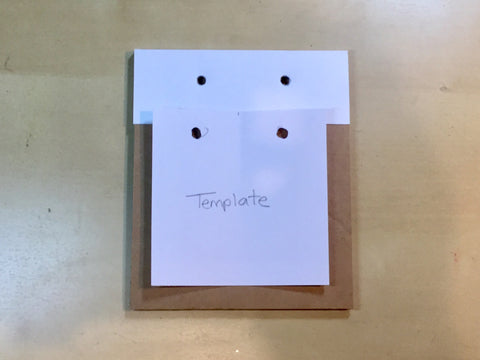
To achieve that I made a template, a 4”square with the holes in the top. We can then use this to make sure all the holes in the project are in the same place.

The first thing we need to use our template on is our stand. Apply the template to your stand and mark the spot for the holes then punch them. You need to mark and punch both sides as we are going to use book rings to hold the pages in place. These will be the holes that will hold them.
As I had used corrugated box card I wanted to cover the edges to make them look neater. I used some Christmassy washi tape to cover the edges. If you want to do this it’s best to do it now before we decorate the stand.
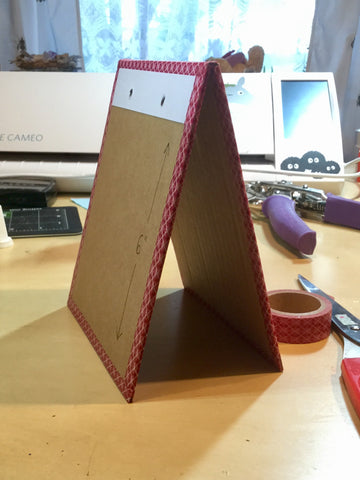
Now you can use some of the wonderful papers from the Quickity Split Joyous Noel Collection to decorate your stand. You can use all kinds of embellishments on your stand to liven it up.
You will also need to add something to stop the stand from doing the splits when the weight of the countdown pages is added. I decided to use some red twine to brace the stand. Cut two pieces of twine and knot one of the ends. Make two holes on each side of the stand and thread the twine through until the knot holds in the hole. Then thread it through the other side and knot it again. Repeat on the other side.
My finished stand looks like this.
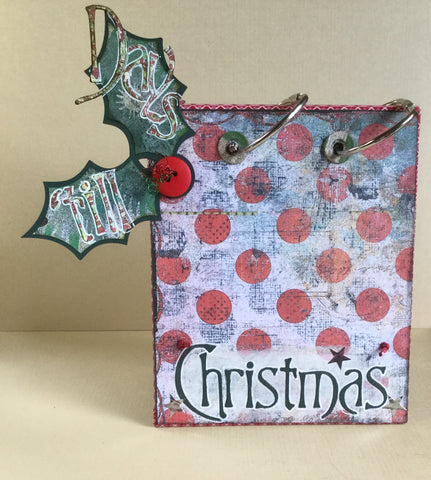
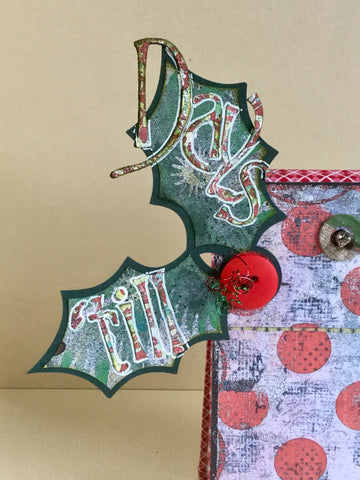
Of course you can’t have a countdown calendar without the countdown pages.
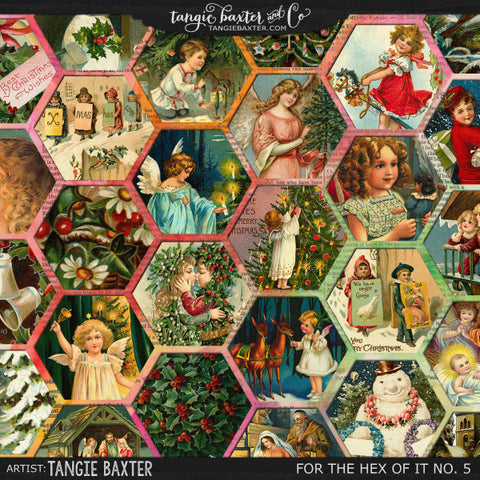
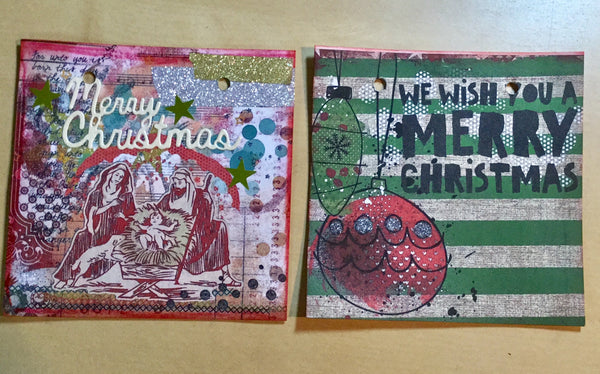
You will need to cut 26 4”squares of card and collage one side of them, I also covered the backs as well. I used more of the Quickity Split Joyous Noel papers as well as Artist Trading Card Super Saver Bundle #2, Christmastime, For The Hex of It No. 3 and For The Hex of It No. 5 as well as the family and baking Christmas kits from The Vault.
Once you have collaged them, add the numbers (I added the countdown from 25 - 1, then a Merry Christmas page and a cover page), punch holes in each page using your template.
Of course you can add all sorts of things to your page. They do need to be flat though. I used some sparkling washi tape and some star stickers.
Here are my finished pages pages -
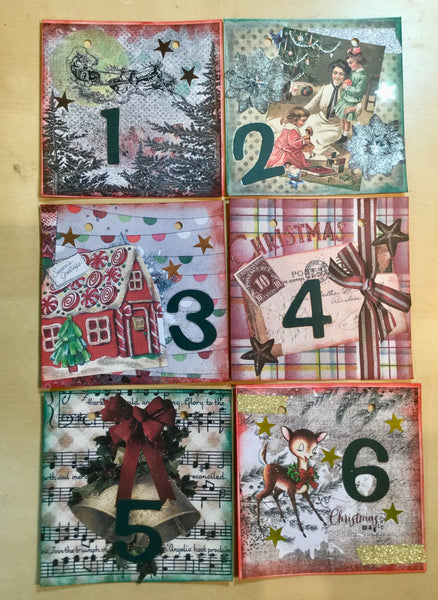
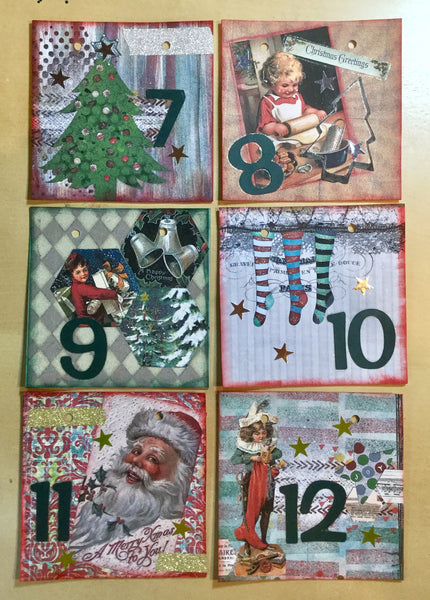
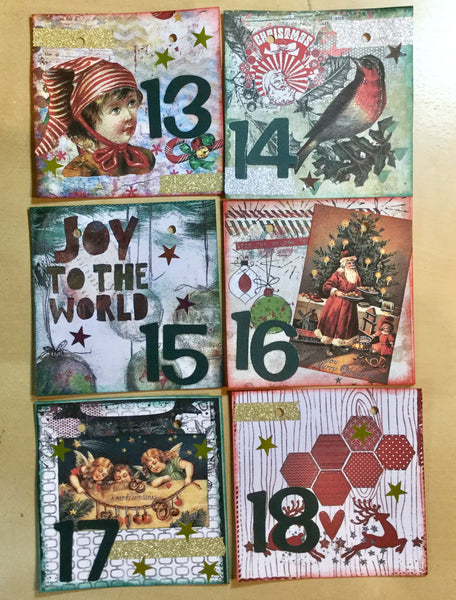
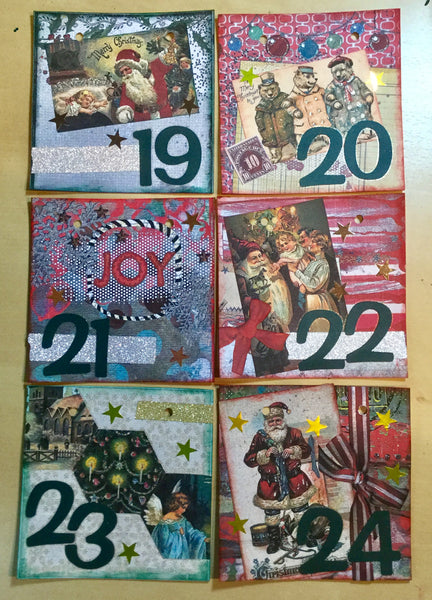
Some of the pages just needed a few stars and their number. When you have that many to do it’s nice to have some simple ones.
If you prefer digital art you could always make you countdown pages digitally and then print them out and cut them to the right size.
Here's the page for Christmas Day and the cover page I made..
Once you have them all finished you can attach them to the stand using book rings.
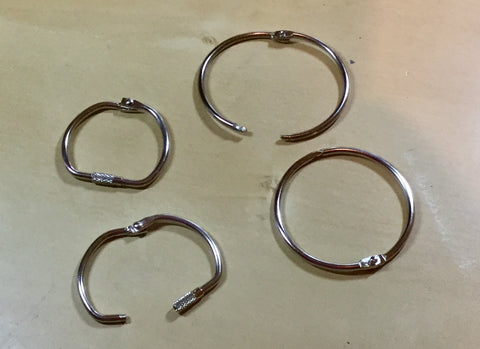
Bookrings come in all shapes, sizes and often colours. You will need either a 1.5 inch or a 2 inch ring. I chose a D-ring as I had some handy.
Thread then through your stand first and then add your pages and snap them shut.

The idea is that each day you flip a page over counting down to the big day!
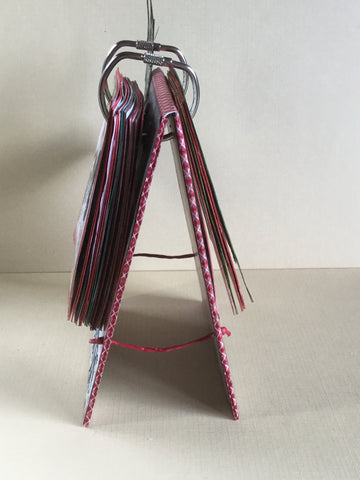
Then when it’s time to pack them away it will fold down flat.
Well I hope you enjoyed looking at my Christmas countdown advent calendar. If you have any questions about it them I would be only too happy to help.
Untill next month when I will be back with another Christmas project.
Take care, love Katrina x
[Posted by: Katrina Rollings]
"Quickity Split Refill {Joyous Noel Collection}"
" Artist Trading Cards Super Saver {Bundle No. 2}"


