Flashback Fridays - Art Travels with Rain: Making Paper Beads October 28 2016, 0 Comments

With the holidays almost upon us I thought I'd share Rain's wonderful post about making paper beads. These can be used in all kinds of handmade items/gifts and are so easy to make! Please enjoy this week's Flashback Friday episode. Please note that some references to websites may no longer be valid but could not be edited due to the formatting of the original post.
Enjoy!

Greetings!
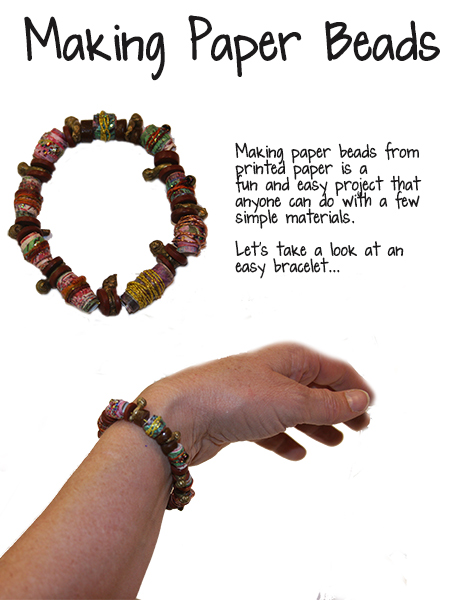
Making Paper Beads
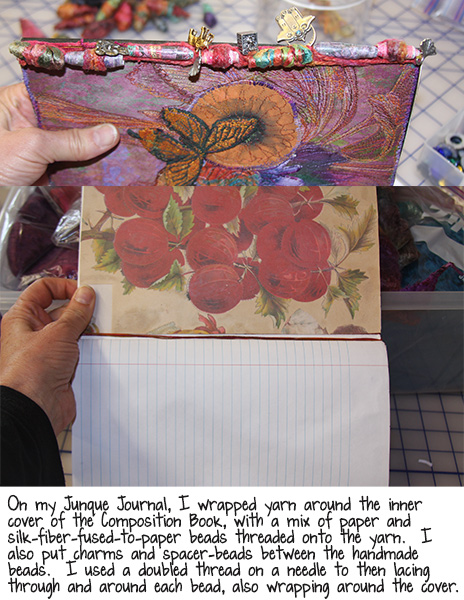
Making paper beads from scraps and trimmed edges is a fabulous way to use every bit of printed page in your stash. I often make a set of paper beads whenever I am working on a new Junque Journal with the trimmed off top and side of the page that doesn’t fit in my Composition book. Last week we took a peek at my latest Junque Journal, with the paper beads on the binding side: 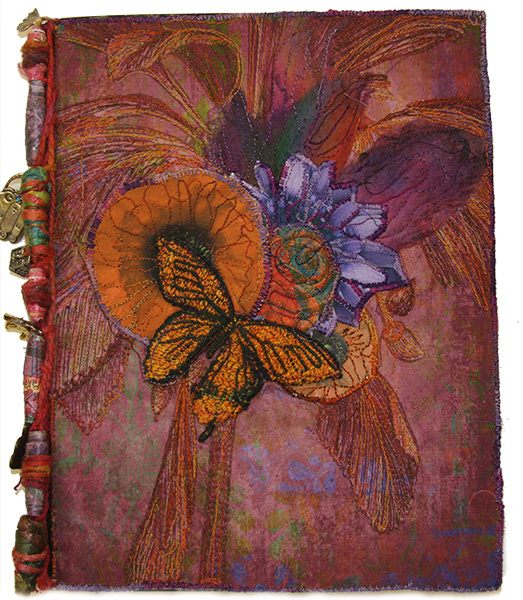
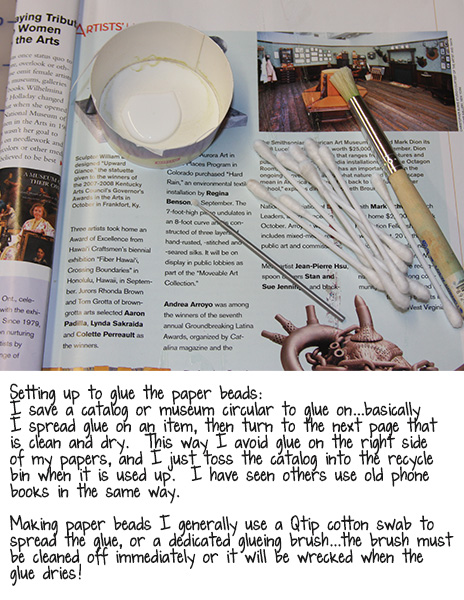
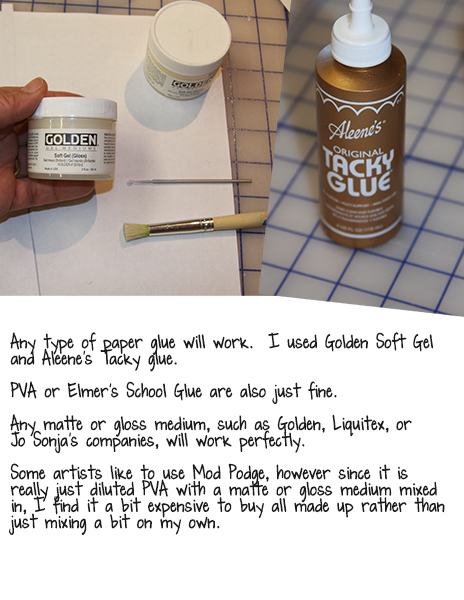
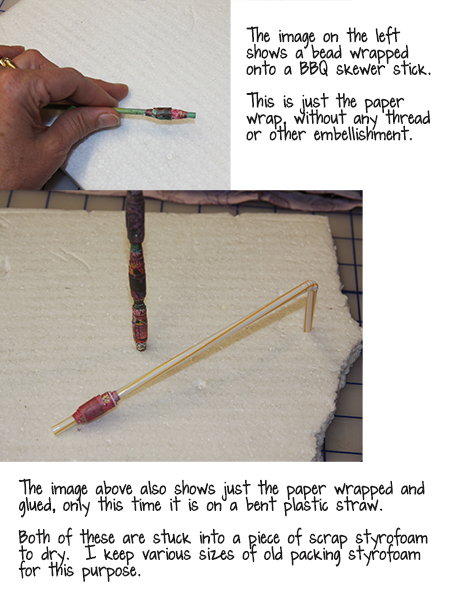
Now let’s take a closer look at how to make the paper beads:

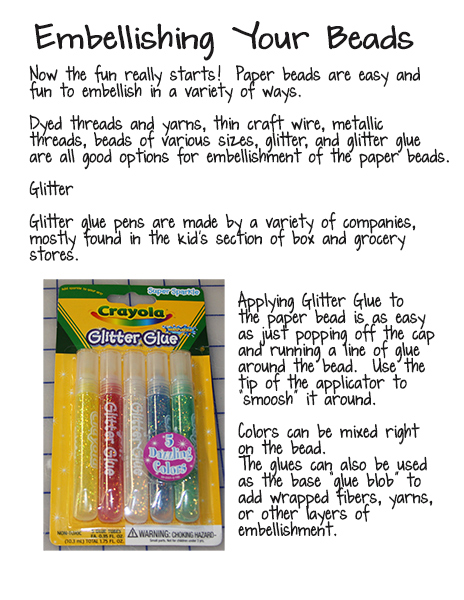
Embellishing Your Paper Beads
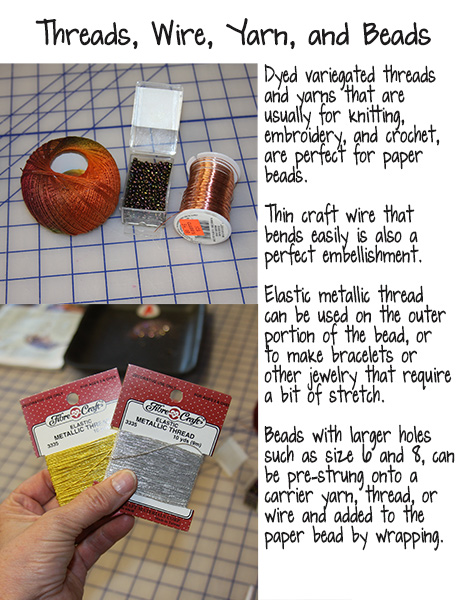
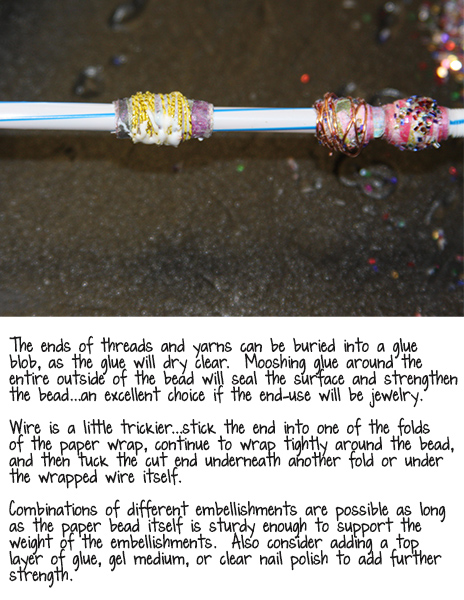
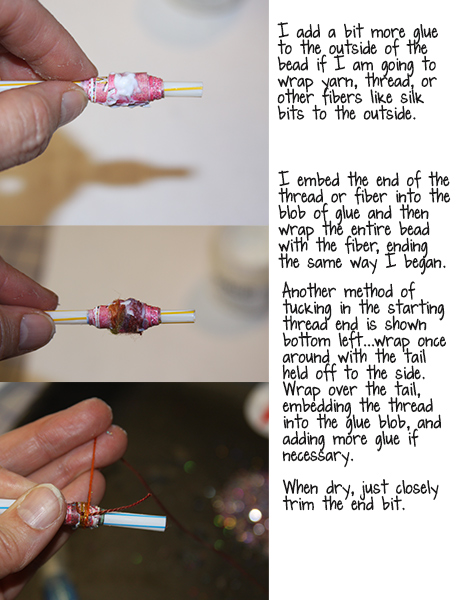
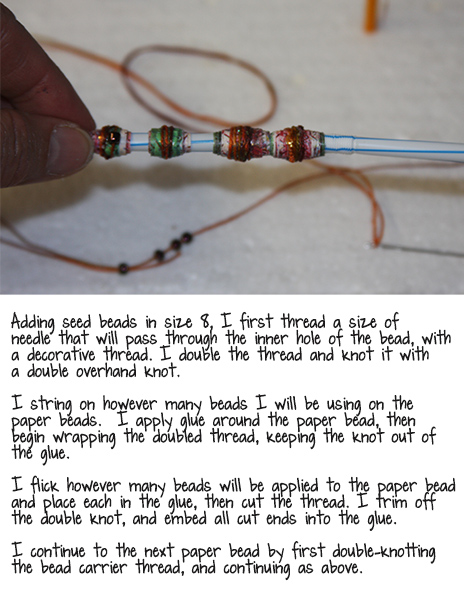
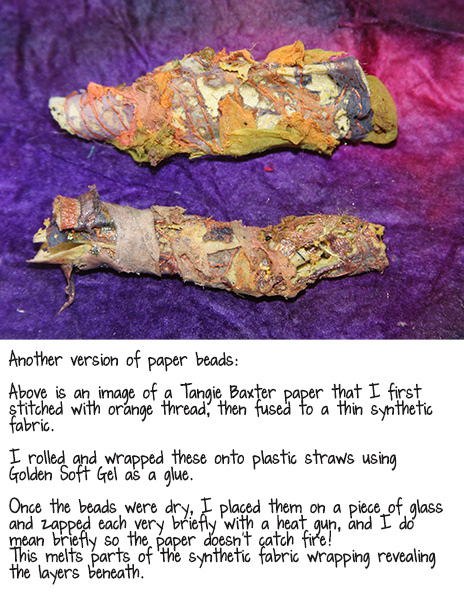
Now that you have some basic wrapped paper beads made, there are all kinds of fun ways to embellish. In this lesson we will look at some embellishment techniques, and a few end-uses of the beads. I set up all the embellishment options right at the start of making the paper beads, so it is literally start to finish in one go. Occasionally I have waited until the beads were dry, and sometimes even weeks or months later, added more embellishment to the tops. The beauty of these beads is that anything goes…the only real “mistake” is to get the bead soaking wet before it has a surface sealant of glue or embellishment, etc., as the paper WILL disintegrate eventually. Having said that, I have rescued paper beads by simply adding another layer of glue to the top!

In the photo image above, “paper cut” should be “cup”! I often will cut down an old paper cup to use as a holder for glue or glitter. The cup can be used over and over, just like the styrofoam tray pictured above. These trays are just washed and dried food trays. I also clean up and save those take-out hard plastic containers with a snap down lid…these will work to store a glitter or bead pile in between work sessions. I do put a rubber band around the lid for insurance, as dumping glitter or beads all over is a real pain to clean up!
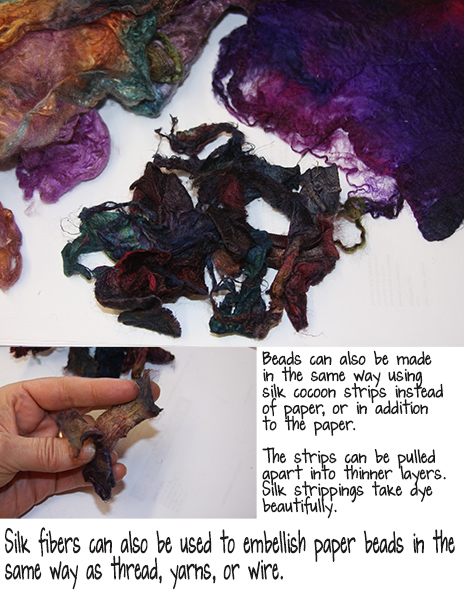
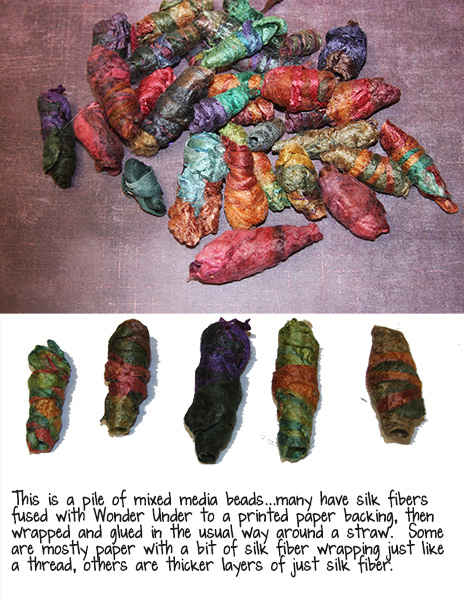
Here are two other ways to add to the paper bead base, or leaving the paper out entirely:
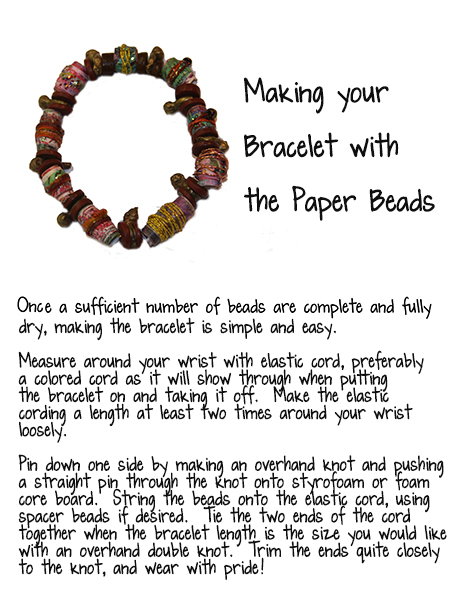
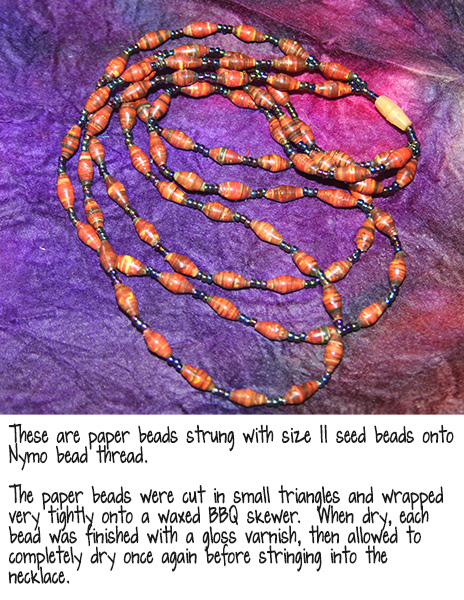
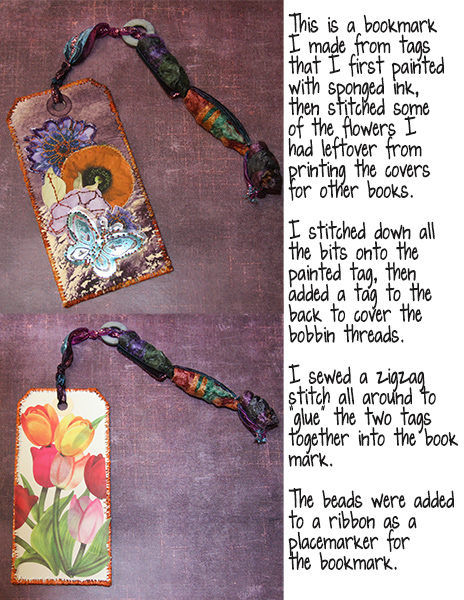
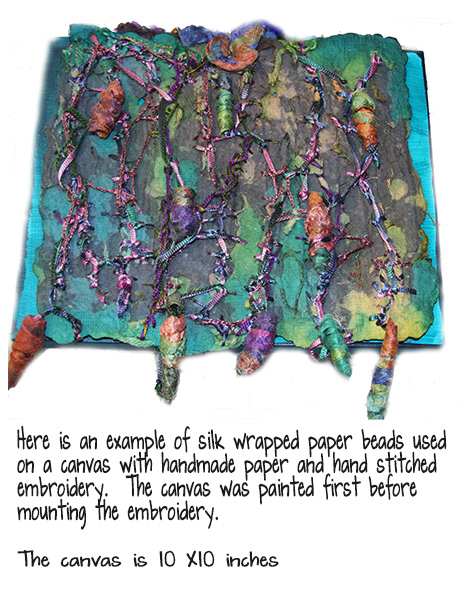
Let’s look at a few ways I have used paper beads:
I hope you find some time to enjoy this beautiful fall weather and make some paper beads!
Take good care and Happy Halloween, Samhain (Wiccan New Year), and El Dia De Los Muertos,
Rain

Please join us next Flashback Friday as we continue our Art Travels with Rain.
Have a great weekend!
[Posted by: Joy]
