Flashback Friday - Art Travels with Rain: Making Print Blocks Lessons 1-3 November 11 2016, 0 Comments

A few years back we had a feature called "Art Travels with Rain". Please note these may be altered from the original posts to update links, provide information on newer programs, etc.
Enjoy!

Hello fellow Art Travelers!
Oh it has been a long time since we last spoke…I have had the sad notebook computer repair tale going on for far too long. The repair quote was two weeks, I gave it 6 before my trip, and now I’m home and it is 13 weeks later without the repair done! Hence, three posts in one today! I hope nothing on the blog melts from all these photos.
Just in case you are wondering…yes, my beautiful and perfect grandson, Danny the third, is now almost 5 months old. Ok, one photo for the Grandma over here and then onto printing blocks:
This is Jessica and the baby taken on Maui and for all you photographers out there, an exercise in closing down curtains in mid-day, bouncing the light off a reflector (white pillowcase at the condo) into the mirror to get the lovely catchlights in Mom’s eyes.

Ok, one more: This is a black and white conversion I did for a class exercise

And on to the topic at hand: Making Printing Blocks
I love to print with fabric paints, thickened dyes, or acrylics on various papers and fabrics. I also enjoy making rubbings on top of the print blocks, then flooding with ink, watercolor, or pencil for an entirely different look. Tangie has a wonderful batch of print blocks for sale that I adore, and use often. These lessons will give you some ideas on how to design and make your own. In the future, I will give you all some of my favorite block cuttings tips and tricks, and also explore the various art media I like to print with. So for now…on to some design considerations!
I tend to explore themes, using art and design, then on to stitch or some of type of mixed media interpretation. For example, here is a 2 page spread of collaged photographs on star and cross motifs:

I will often make collages of my own or found photographic images when exploring a theme, or trying out a color scheme, then I will doodle, draw, trace, or otherwise check out shapes I am attracted to.
Here’s an example of one of my sketchbooks:

Once I identify a shape, I will trace or photocopy the motif, and add black marker to darken if necessary.

I will also use the enlarge/reduce function on the copier to explore scale:

Now the fun really starts! I sometimes can identify a smaller component of the shape that tickles my design eye right off, other times I will fold and cut or divide and cut and just see what I can get. I will also occasionally use a small open frame to isolate shapes within the “mother” shape.
Once I find a shape I like, I will play around with various patterns: linear, half-drop, etc., and make new shapes with the one component, all with photocopies.


 I will also go back to my sketchbook drawings for further pattern ideas:

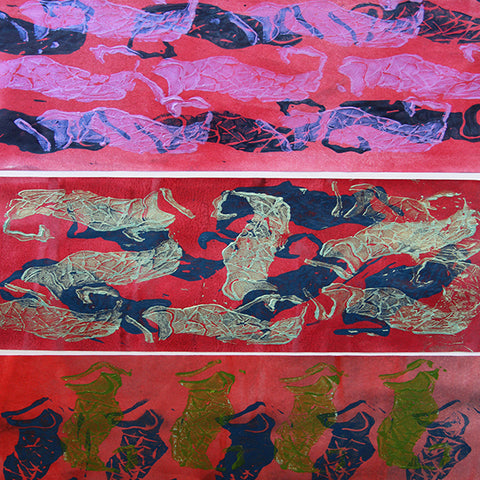
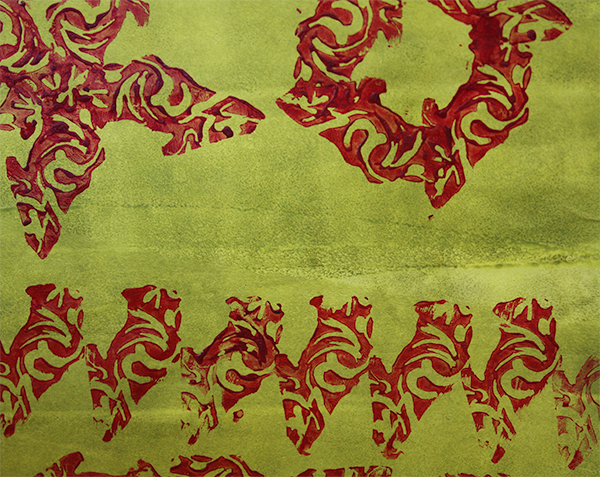
Here are a few pages of acrylic paint and thickened dye prints using the blocks I made from the designs above:

Below is an image of one of my big sketchbooks showing some of the tracing and photocopies attached to the pages with the original inspirational photograph…it might be a long time before I ever make a stencil or print block, but all the design work is done and safe in the sketchbook.

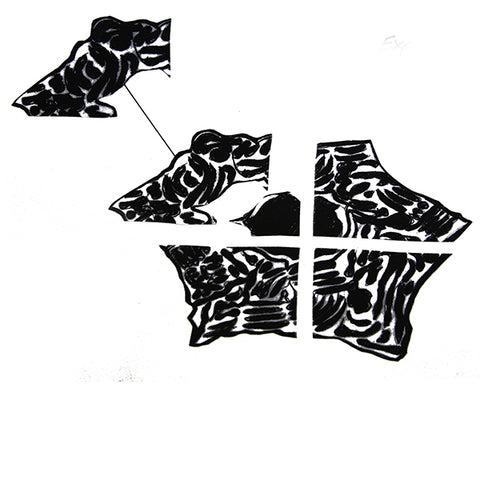
I will often trace in pencil and then start removing lines to simplify the design for a print block:

Some drawings before I cut the block, mostly to know what to remove vs. leave, the positive printing raised surface vs. the negative space.

And here are some images of the above blocks in action.


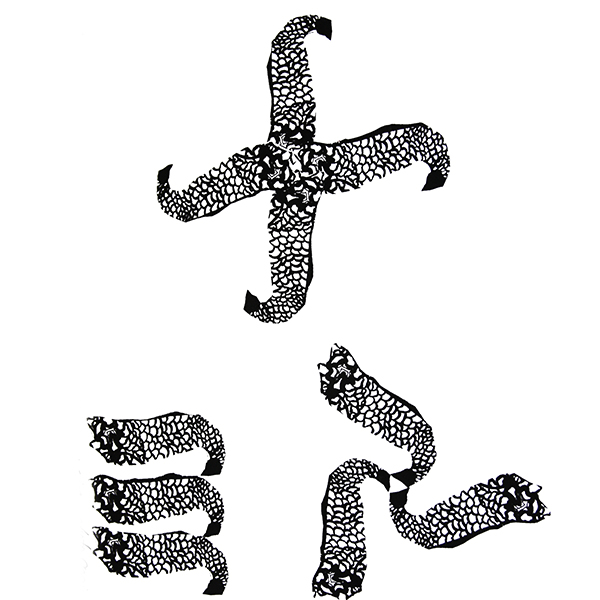
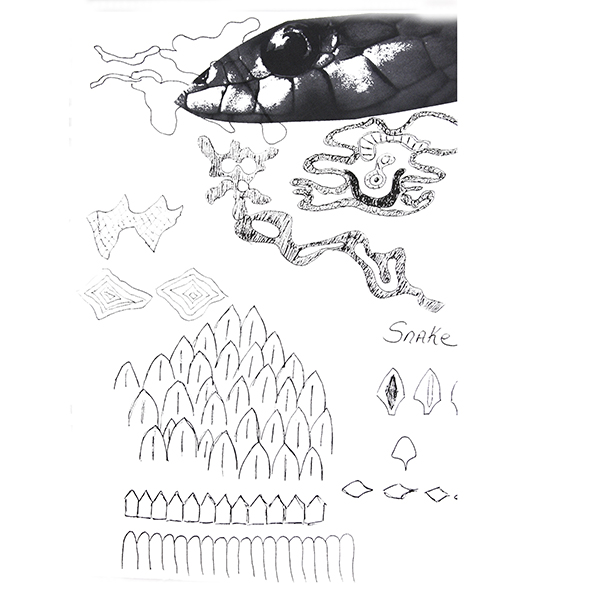
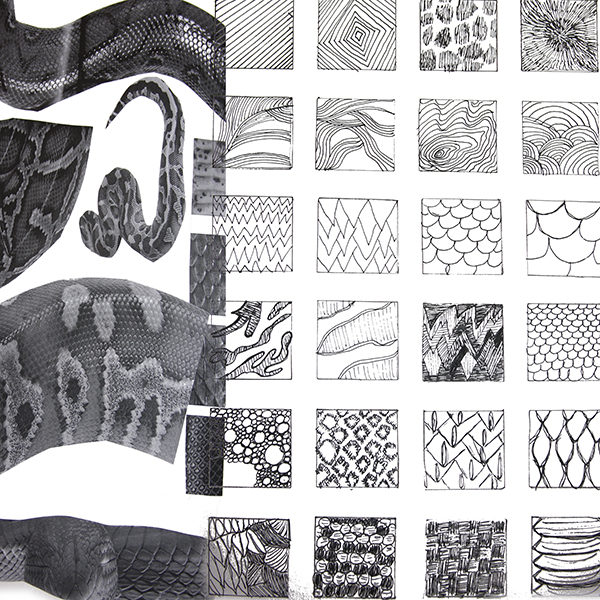
I will often take an animal or reptile or other living creature that is highly patterned or textured and extract line patterns in my sketchbook as a design exercise for stencils and print blocks. Here are some examples of snake skin and peacocks:


Once I cut the block, I will make a black on white paper print for my block inventory…it is easier for me to visualize if I see it printed on paper, rather than in the reverse on the block.

That was a pretty messy example!
Here are a couple of images using the blocks into molding paste, tar gel, or other raised gel medium over a painted and printed surface:


Finally, in my design sketchbook, I do keep a record of bits of printing, along with the fabrics, paints, papers, or whatever I used. Here is an image of one of my City and Guilds documentation spreads with these blocks:

Until next time, I hope you find some time to make some art!
take care,
Rain
~~~~~
Please join us next Flashback Friday as we continue our journey with Rain.
Have a great weekend and Happy New Year!
[Posted by: Joy]
