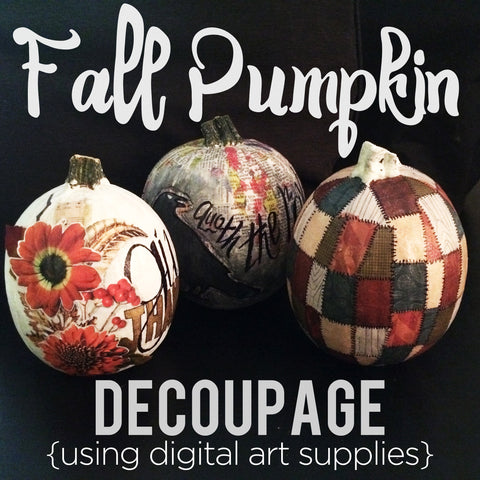
Fall Pumpkin Decoupage {Using Digital Art Supplies} November 05 2015, 0 Comments
Today, I took a trip to the grocery store and saw the saddest display I’ve seen in quite some time: the gym class reject pumpkins. You know the ones I’m talking about. It was a pretty depressing sight! Now, I know that we tend to jump straight from Halloween to Christmas, but people… this madness must stop!
Just because Halloween is over, doesn’t mean you have to abandon the fall décor. We are still knee deep in autumn folks, so here's a project for you to help make use of all those poor pumpkins that didn’t get picked for dodgeball.
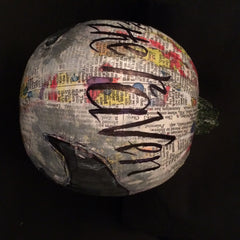
Poe Pumpkin
Supplies
- Mod Podge®
- Paint
- Paintbrush
- Permanent marker
- Art*tionary No. 2 by Tangie Baxter
- Eerie Shadows {Bundle} by Tangie Baxter
Steps
- Paint the pumpkin with a mixture of Mod Podge® and white paint.


- Download and print Art*ionary papers. Rip 'em up!

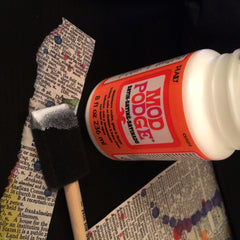
- Paint a stripe of Modge Podge® on the pumpkin and the back of the paper, place and smooth. Place other papers as desired. Cover with a thin layer of Mod Podge®.


- Download and print bird elements. Cut & Mod Podge® them to the pumpkin.
- Draw and paint around the edges of the ravens.


- Add lettering.


You now have a unique fall decoration or centerpiece that is sure to be a conversation starter! Now that you've got the hang of it, here are a few more fun designs for you to try:
Give Thanks Pumpkin
Supplies
- Mod Podge®
- Paint
- Paintbrush
- Fabric leaves
- Autumn’s Poetry by Tangie Baxter
Steps
- Paint pumpkin desired color, with a mixture of acrylic paint and Mod Podge®.
- Add desired lettering.

- Print a variety of leaves, flowers, and flourishes
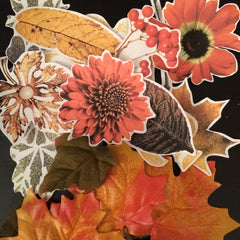
- Layer elements in a cluster, much in the same way you might on a digital layout.
- Paint the pumpkin with Mod Podge®, paint the back of the papers, and place in desired location. Paint each layer with a small amount of Mod Podge®. Add other 3d elements as desired.

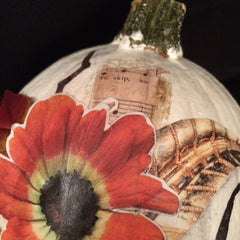


- Seal up the project with a thick layer of Mod Podge® and voilà!

Patchwork Pumpkin
Supplies
- Mod Podge®
- Paintbrush
- Permanent marker
- Autumn’s Poetry by Tangie Baxter
Steps
- Print papers, try using a variety of colors and patterns. Cut into shapes, I started with squares and rectangles and trimmed them along the way as I needed.
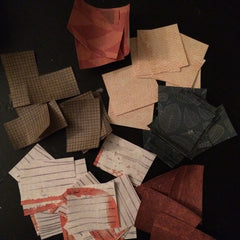
- Mod Podge® the pieces, like a quilt, until the entire pumpkin is covered.
- Seal the finished project with a thin layer of Mod Podge®.
- Finish up the project using a permanent marker to cover the seams with stitches.

There you have it! Three fun and simple DIY decoupage pumpkin ideas, using your stash of digital scrapbook products, to spice up your fall decor!
How are you using digital products in your fall projects this year?
Share with us in the comments.
[posted by Karli-Marie]